CARDSTOCK: White
CS cut at 5" X 10" and scored at 5"
Scraps of black to punch the face, ears, feet, tail etc.
TEXTURZ PLATE:
I used the swirlies one in "Backgrounds
1," but any swirly design would work ~ even a floral design.
SUPPLIES:
sponge ■
grey stamp pad ■ dimensionals
movable eyes from a craft store
TUTORIAL:
1) Fold the CS in half on
the score line to make a folded 5" square ~ which is the card base.
2) Lay the card base,
folded, just inside 2 scallops of scallop circle (it will be at a
slight angle to the sides of the die), carefully lay the clear
cutting mat over it, and run it through the Big Shot.
3) Select the Texturz Plate
or embossing folder you want to use to "fluff up" the sheep, front
and back, and do so, being careful to place the edge of the folder
or plate right at the fold of the card. (One of the sides did
not work as well as the other, so I used that for the front side
since the head of the sheep covered it up nicely!) ... I
did run the white scalloped oval through as well, but not the tail.
4)
Punch the pieces for the rest of the sheep's body:
1 wide
(largest) oval in black for the face
6 small ovals
in black for the 2 ears and 4 feet
1 scalloped
oval punch in white for the puff over the face
1 flower (the
largest of the 3) in white from the Boho Blossoms punch
5) Sponge all the edges of
the scallops. If there's a scallop, sponge it! ~ card
front, card back, white oval scallop and tail. I used Going
Grey because it's lighter, and I wanted a softer look, but it's
retired, so you'll have to use Basic Grey; just go easier with it.
If you're making the card for a baby, you might want to be less
realistic and go for a light pink for a girl, or light blue for a
boy! Or yellow or green for "either.
6)
Assemble all the pieces to form the sheep's face and body, including
the tail on the back. Adhere the eyes with either snail
adhesive or mini glue dots.
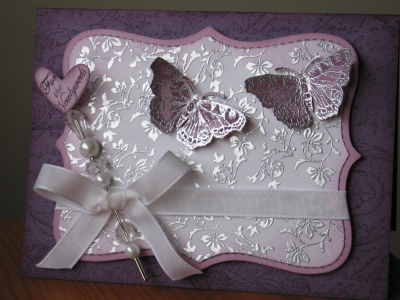
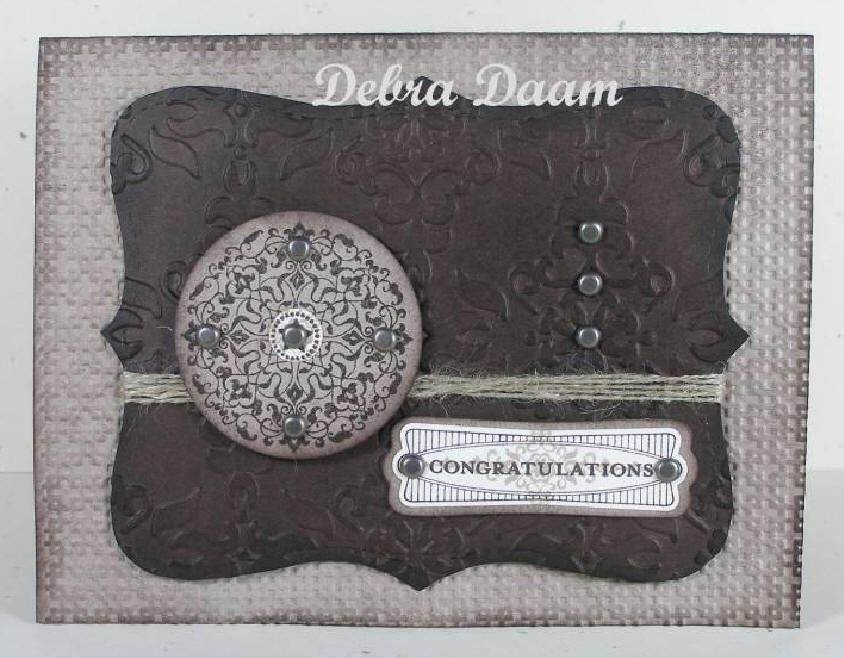
ELEGANT
LAVENDER
& SILVER
TOP NOTE CARD
Click
here to see this card at Splitcoast Stampers.
Ours looks pretty much
exactly like this one!
The white top note piece
is embossed in silver
Project
Notes
CARDSTOCKS/PAPERS:
■ Top "Top Note" piece is
white CS, cut just on the inside of the dotted lines so that the
dotted lines on the lavender piece matting it show.
■ Lavendar "Top Note" piece
~ in Lavender Lace, or you could use Opulent Orchid, if you still
have that. It'll be a little brighter and bolder.
■ Card Base: Elegant
Eggplant
STAMP SETS:
Butterfly: "All a Flutter"
Silver scrollies on the white piece: "Elements of Style"
SUPPLIES:
White organza (taffeta is used in the
picture) ribbon, brad for the center of the flower, Pretty in Pink
and So Saffron stamp pads.
TOOLS:
large
(not "wide")
oval punch and scalloped oval punch for the sentiment; scallop
circle punch for the pink carnation; paper piercing tool and pad for
making holes in the flower pieces; 5-petal flower punch for the
leaves; sponges to apply ink to the top "Bride DP" piece,
square scallop die and Big Shot.
INSTRUCTIONS:
1)
TOP PIECE: Sponge yellow and
pink ink onto this piece as shown above. Use a cotton ball to
remove excess ink from the scrollies ~ to make them whiter/shinier.
Adhere this piece to the pink square.
2) RIBBON:
Tie the ribbon as directed in the tutorial on
this web page. There are actually two ways to do this
(both are on that same page). The first is the one I used
here, but either works!
3) NEXT LAYER:
Adhere the above (now one) piece to the So Saffron scalloped square
card base.
4) LEAVES:
Punch one 5-petal flower out of green. (I'm not sure what they
used in the sample above, maybe Green Galore, but Certainly Celery
is nice.) Cut into two pieces, one having three leaves, and
the other having 2 leaves. If desired, use a bone folder to
create a vein going up the middle of the leaf, out
to the point, and then veins extending from that center line out to
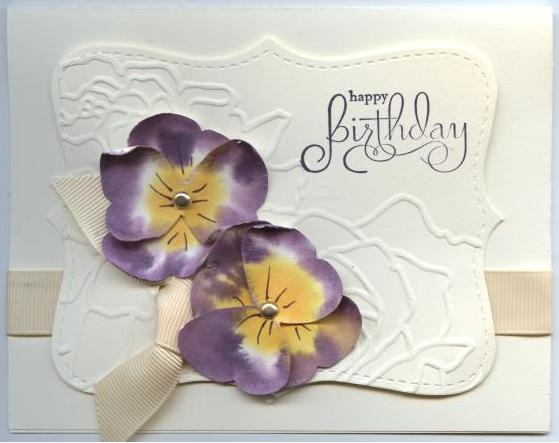
the edge of the leaf. (See
the leaves in the PUNCHED
FLOWERS ON TOP NOTE CARD at the bottom of this page.)
5) CARNATION:
■ Punch 3 scallop circles out of
the Pink Pirouette.
■ Crumple each circle, opening and
then crumpling again in different directions a few times.
■ On two of these, do a little
extra crumpling. Then, when you see the edges of the
scallops separating, go ahead and continue separating into two
thinner flowers. It's easiest ~ with the least amount of
tearing the flower ~ to start at the outer edge of each scallop,
separating from that down into the flower a little ways, then going
to the next scallop and separating in a little ways from there ~
doing the same all the way around, until the whole flower is
separated.
■ Using the paper piercing tool
AND the pad, pierce holes in the center of all three scallop
circles.
■ To assemble, place the whole
scallop circle down first, then layer the other two split-in-half
scallop circles, smooth side up, onto each other. Push a brad
through all five layers, and open in back.
■ Attach the leaves to the back of
the flower, making sure you don't have adhesive showing on the front
where the leaves are peaking out from behind the carnation.
6) SENTIMENT:
Stamp the sentiment you want to use onto white cardstock. With
the large oval punch up-side-down, hover over your sentiment and
punch. Punch the light pink scalloped oval, and adhere the
smaller oval to the larger.
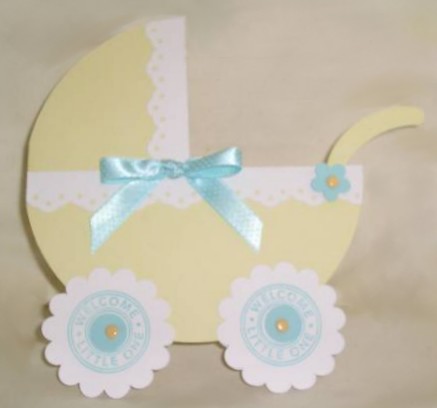
text
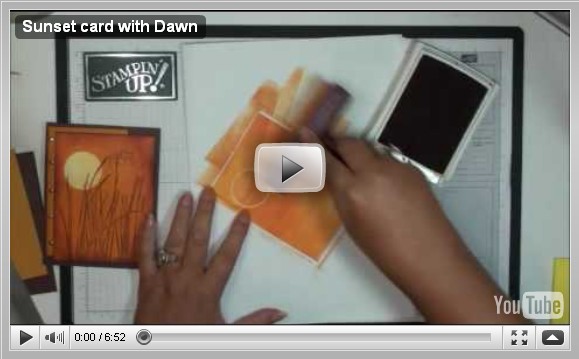
CARD
This is only the general idea of what the card will look like.
I love the idea of the
cut circle with the clear acetate inside it!
Isn't that fun?!?!
But I want to do something different for the card itself.
Project
Notes
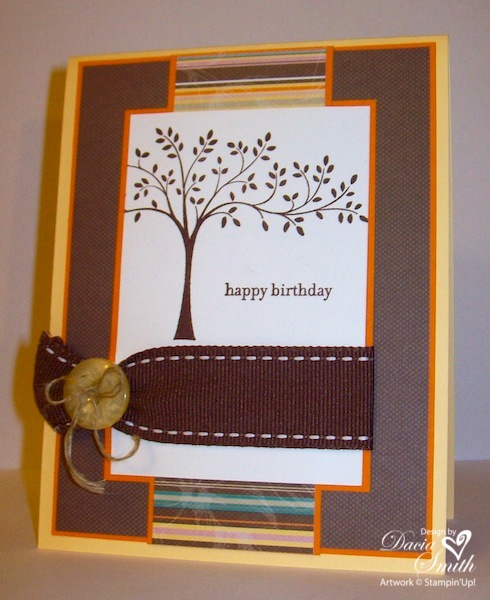
STAMP SETS:
■ The
grass is from "Inspired By Nature."
■ The
sentiment is from "Well Scripted."
CARDSTOCK:
■ Chocolate Chip #102128 - Cut at 4 1/4" X
11" scored at 51/2"
■ More Mustard #100946 - Cut at 3" X 5"
■ Whisper
white # 100730 - Cut at 3 3/4" X 5"
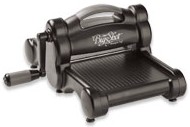
INSTRUCTIONS/TUTORIAL:
Click on the picture below of the tutorial
video to go to the web page for this card at Dawn's own site.
First there's a picture of the card, then a list of supplies, then
this video screen ~ just click on the arrow in the middle, and Dawn
will tell you how to make this card! (Or come to class on June
12th and *I* will show you!!! )
SUPPLIES:
(These are listed on that same web page.)
BRADS:
I preferred the three brads toward the
bottom of the card over the five
brads along the whole left side.