|
PROJECTS for Stampers Season Class
ON
December 5, 2009
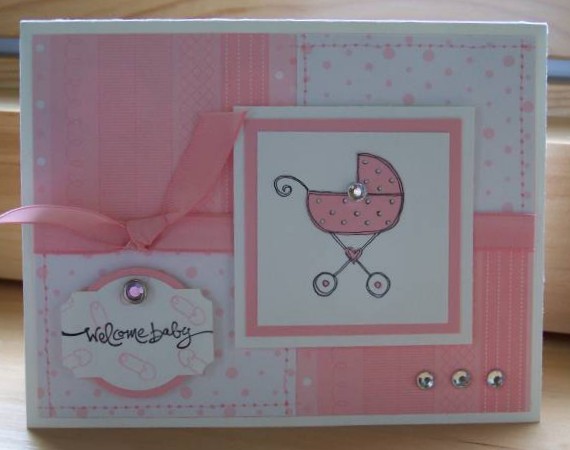
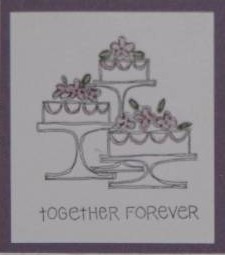
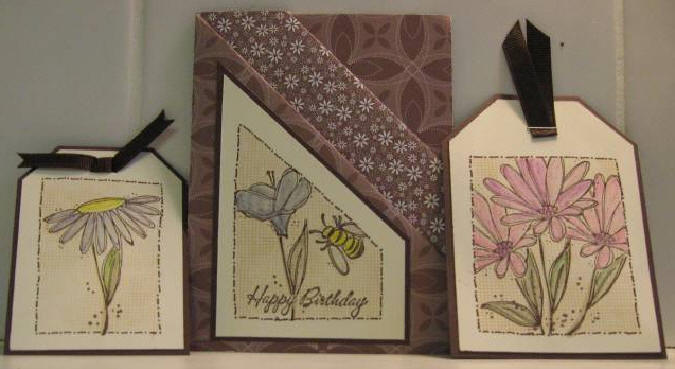
4-Piece Quilt Card:
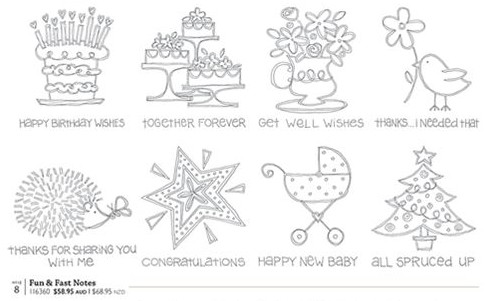
This can be made to be any type of card you want. The "" set is used here, and this set also has stamps for:
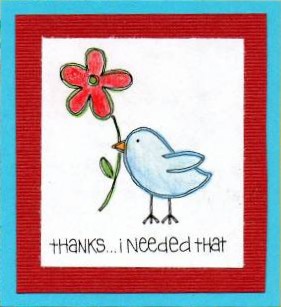
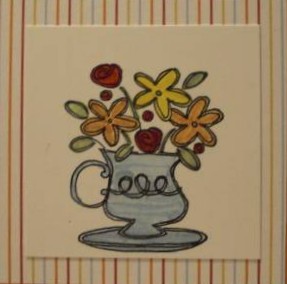
And here are several MORE of the stamps in that set, other than the two "FOR YOU" cards with the tall bouquet, which is from the retired hostess set "Basket Full of Fun," which I have!
(Aren't these just TOOOO cute?!?!?! We aren't making them, but you might tuck them away for future reference!!!)
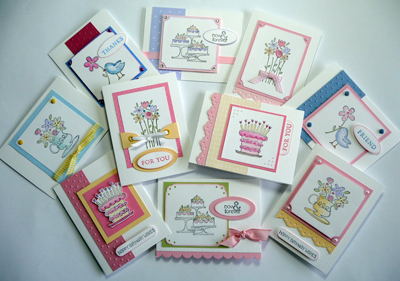
And here are all the stamps in the stamp set itself:
As for Saturday's project, I will have a variety of color scheme options available! You'll be free to use whichever stamp that best suits your need!
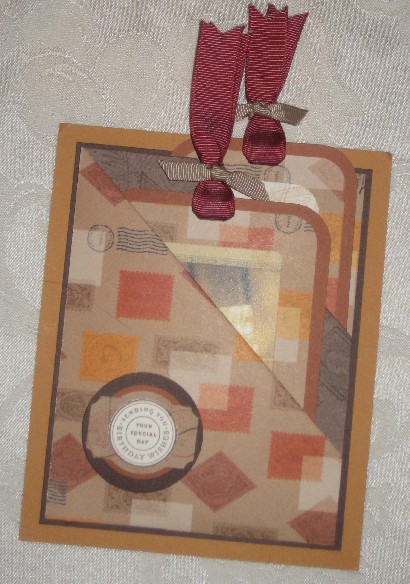
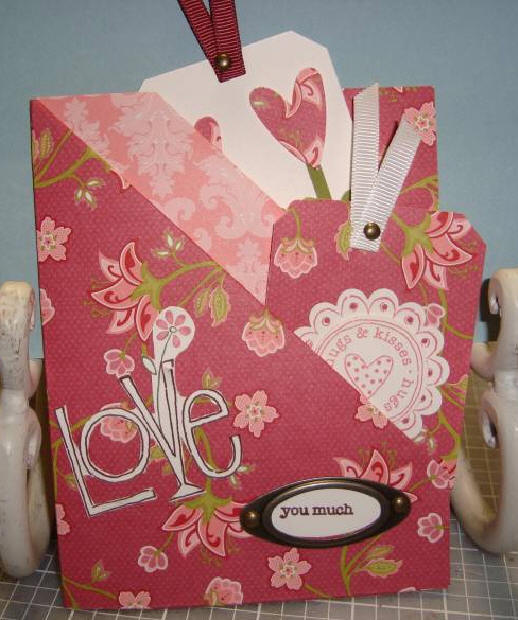
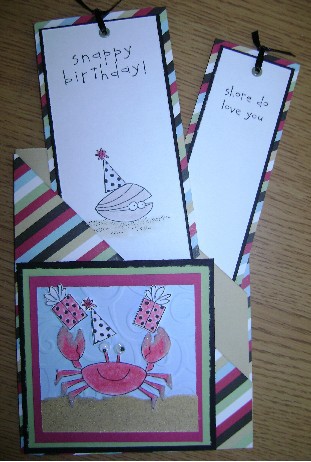
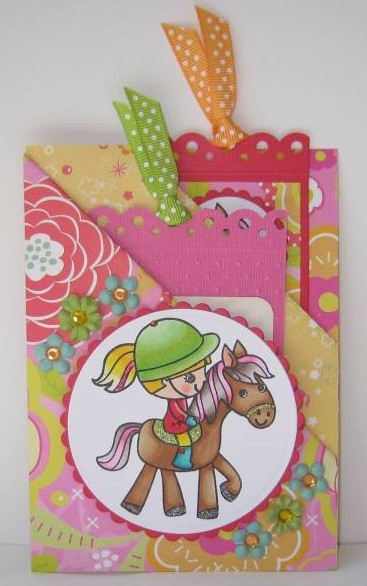
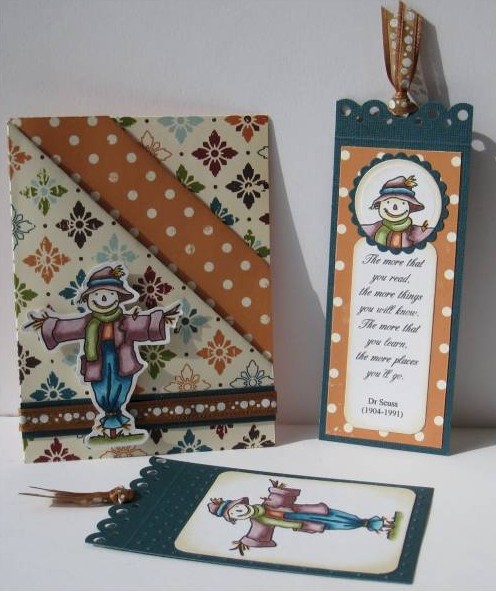
"Diagonal Double-Fold" Card:
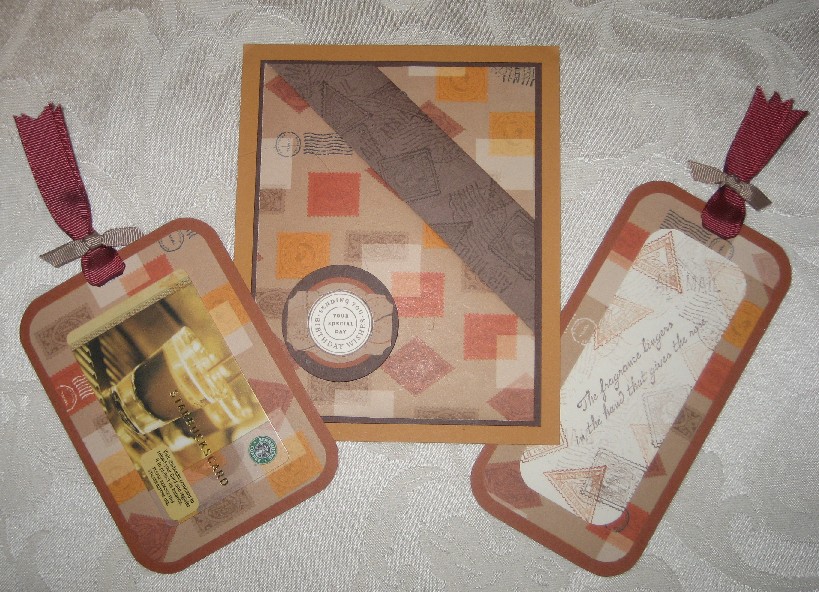
Here's the one I made ~ the pieces all put together.
And here's the card with the gift card piece and bookmarker pulled out:
(These are MUCH easier to make than
they LOOK, by the way!!!!!!!!
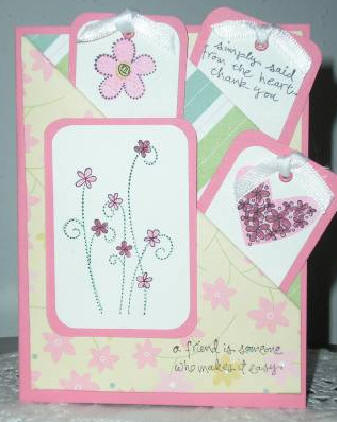
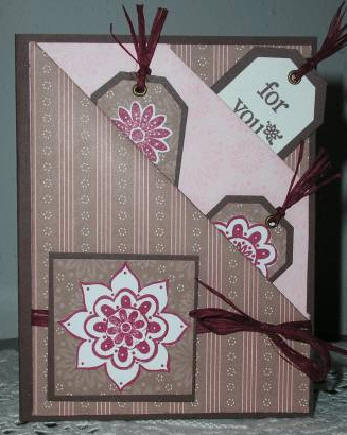
Here is prototype of the card ~ where I originally got inspired to make this card!
Mine is a little bigger and looks a little different because I mounted my card (same size as above) onto a larger sheet of matted cardstock. I did a More Mustard base with a smaller Chocolate Chip mat:
The card part is exactly the same, though; same dimensions as the yellow card above. Mine is bigger only because of what I have mounted it on.
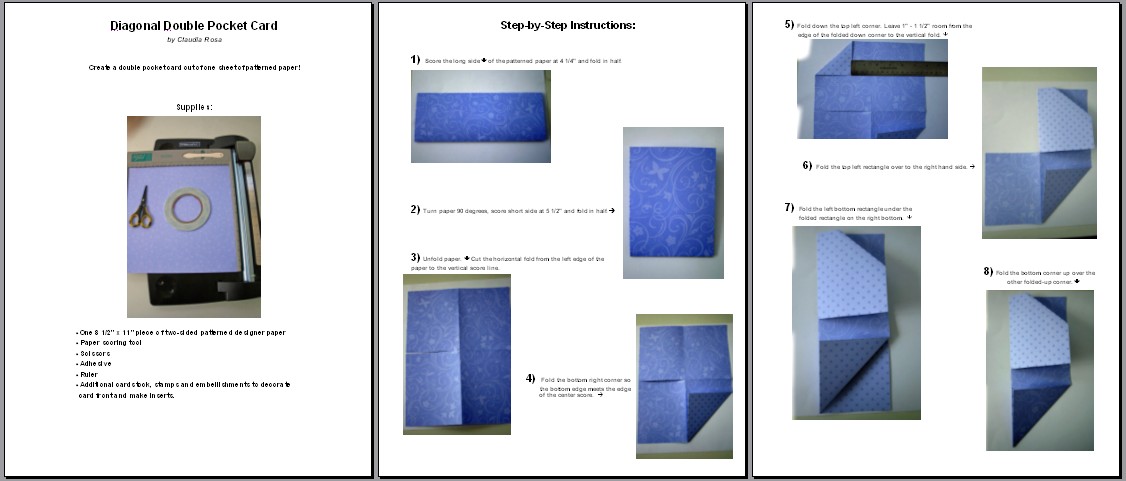
Click here ~ or on the picture below ~ to go to the instructions for making this card:
(These instructions were originally (and still are) at the Splitcoast Stampers website, (here) but I reformatted them so that they would fit better onto the pages and print out on fewer sheets of paper.)
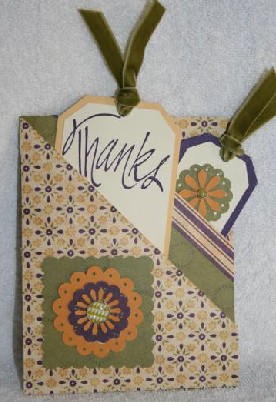
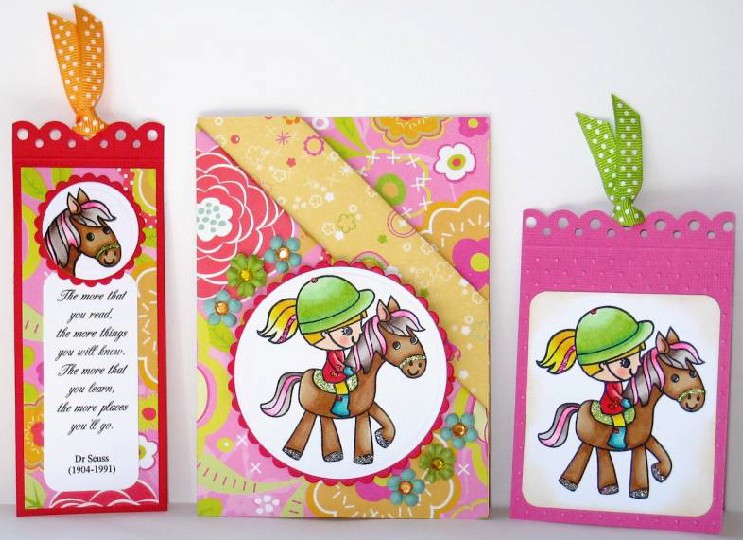
Here are a few more samples ~ all using Stampin' Up products ~ just so you can REALLY get the idea of how many ways you can do these!!
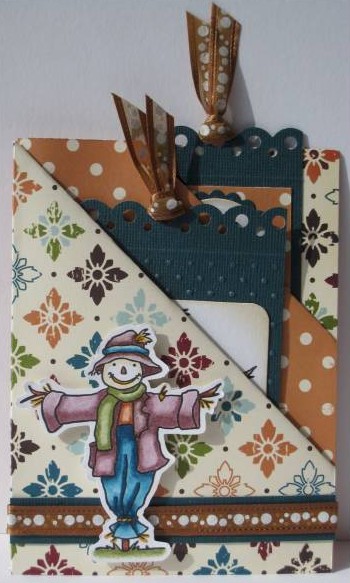
And here are two non-Stampin' Up samples of this technique, just for additional ideas of how you can finish them:
On these two (the above Pony one, and the Scarecrow one below) Notice the wider, shorter rectangular pieces... (the scarecrow piece on blue, and the little girl on the pony) you could make this piece be a tea bag or gift card holder! OR it could just be the place you put your sentiment.
(Remember, I don't have the stamps or designer papers in these two projects. I just want you to see what can be done with this technique.)
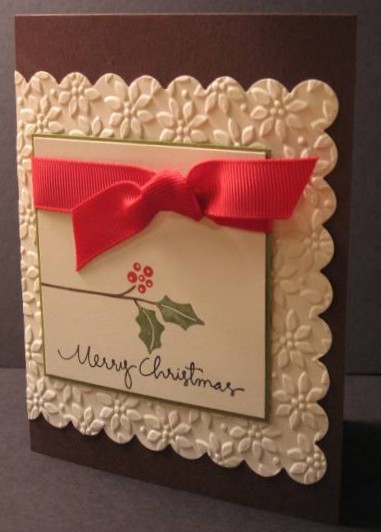
"Petals-a-Plenty" (embossing folder) Card:
I got the embossing folder to make this card ~ which I showed you last month ~ however, I don’t have this stamp set. There is something else I can use, but it definitely won’t be the same, so I’m wondering if anyone has this set? It’s from the Occasions Mini Catalog. And if you don’t really need another Christmas card, we could make it into just about anything! I have plenty of fun options!!!
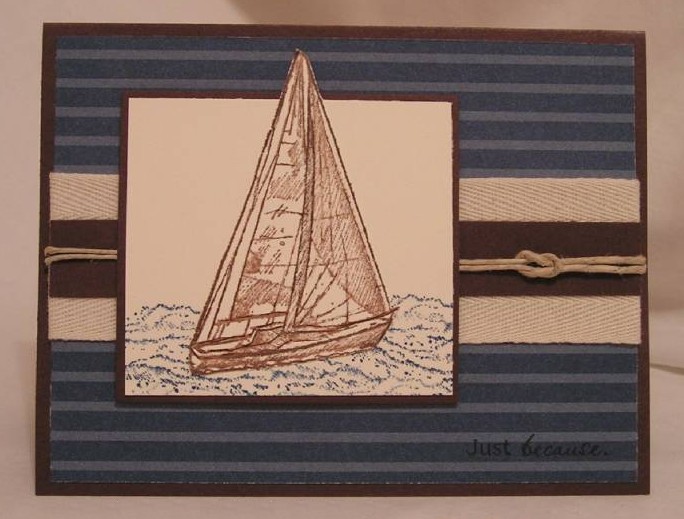
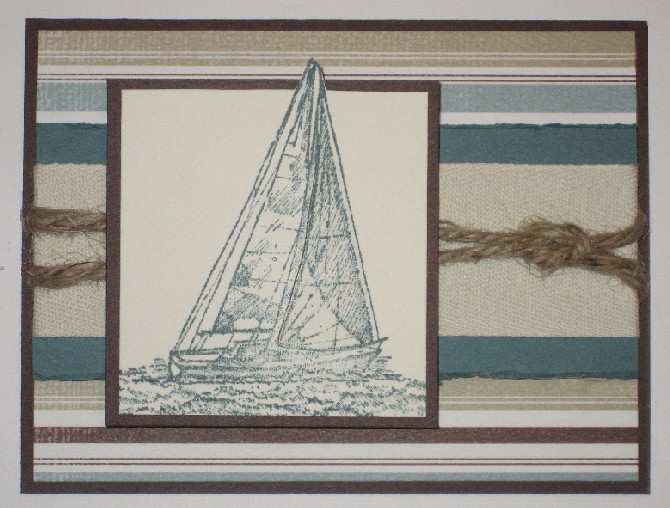
"Winds of Grace" Card (Masculine)
Here (below) is the prototype I took the idea for mine from. Mine, as you can see, is done in different colors, different "rope,"
different designer paper... but
is nonetheless similar!
You can't really tell here, but the front sail is popped up on mine!
If you have a twine/string that's more like this, feel free to bring it! Mine actually looks better than it does here, but I think this white one more like this would look nice, too!
Supplies to Bring to each class:
glasses!!!
(A little tip... I normally wear 2.50–2.75 reading glasses, but for closer, more-detailed work like this, I got a pair of 3.00's and LOVE them!!!)
Supplies to bring this time, if you have them, and really want
to bring them:
(I have two, but can only find one. I do have two pads, though. These are not the pads used with the Paper Piercing Tool; they're the harder ones used with the eyelet punch. It's called a "self-healing pad," though mine has somehow not managed to quite heal itself. )
(as used in the Double Pocket Card)
|
|||||||