|
PROJECTS
for Stampers Season Class
on
June 18, 2011
|
June's
Projects at-a-glance |
|
 |
|
|
 |
-Brown+Gold2.jpg) |

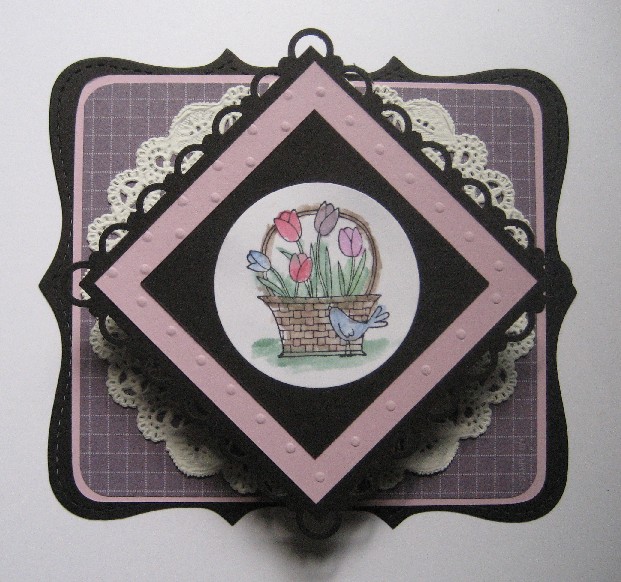
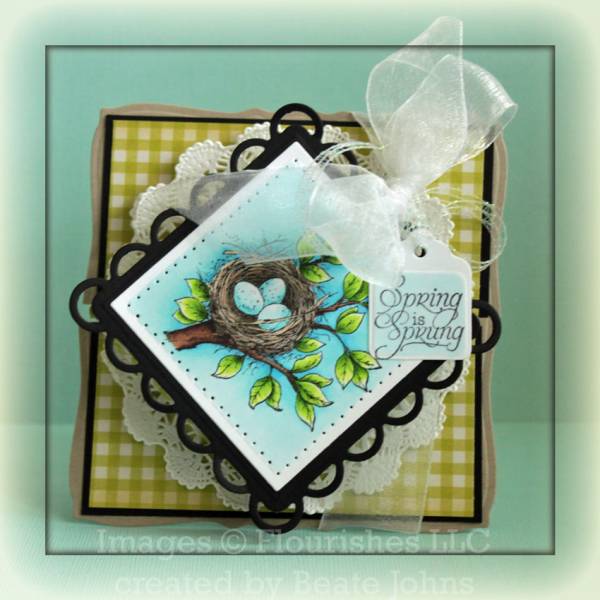
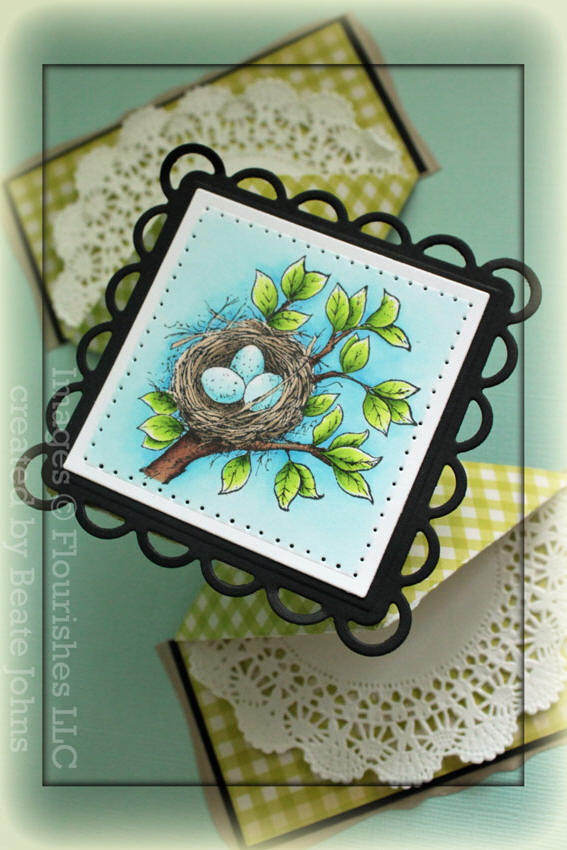
DIAMOND-FOLD
POP-UP
CARD
Three versions of the
card we did:
(Different focal points,
and papers!)
(This card is actually
the same colors, but the
photo was taken at night
instead of mid-afternoon!)
Note that, in this card,
(made by Berdie), the two inside points of the
background Top Note were
cut off, but not in the two cards above.
The champagne glass
glitter in the very center is
much prettier (and more
obvious!) in person
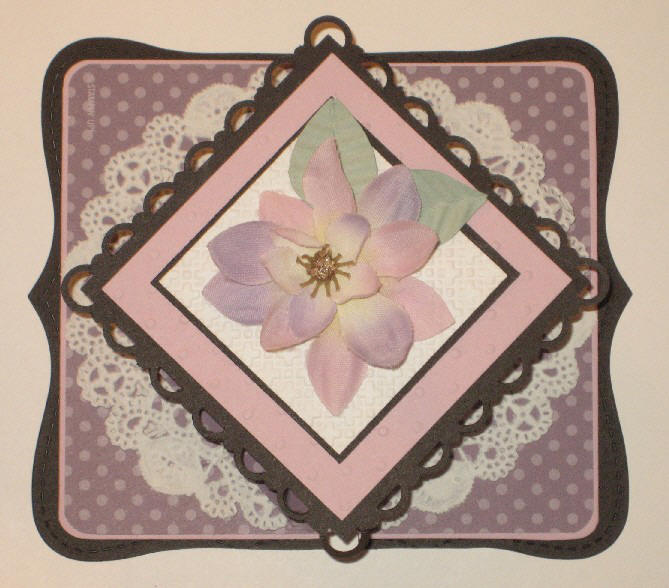
And here are two very
similar cards:
In the left
(or top)
one
(depending on the size
of your web page),
the flower is smaller, and
the lavender square it's on is set at
an angle, as a diamond shape.
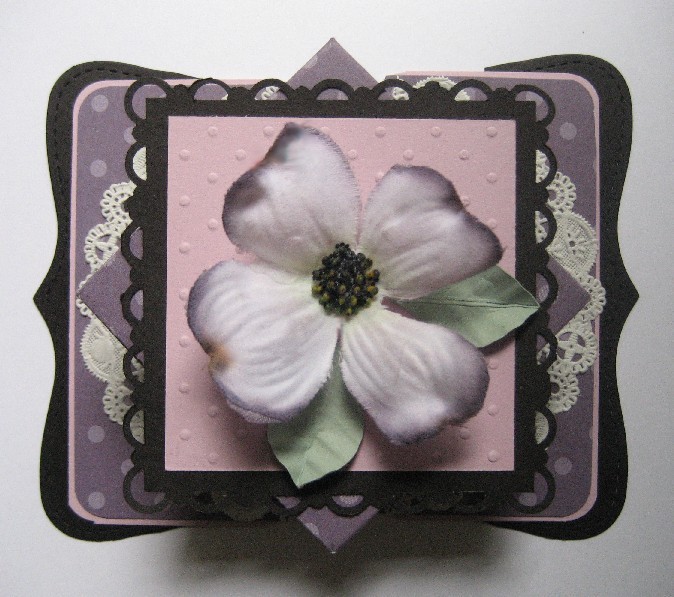
In the card on the
right, (or
below) the flower
is larger and the lavender square it's on is positioned as a square. As you can see, both
ways work, and are just as pretty!!!
(They were taken from
different areas of the swag I cut it off of.)
The
prototype card, first (left) closed:
è
And
then same card opened up:
(You pull the
sides out.)
 è
è
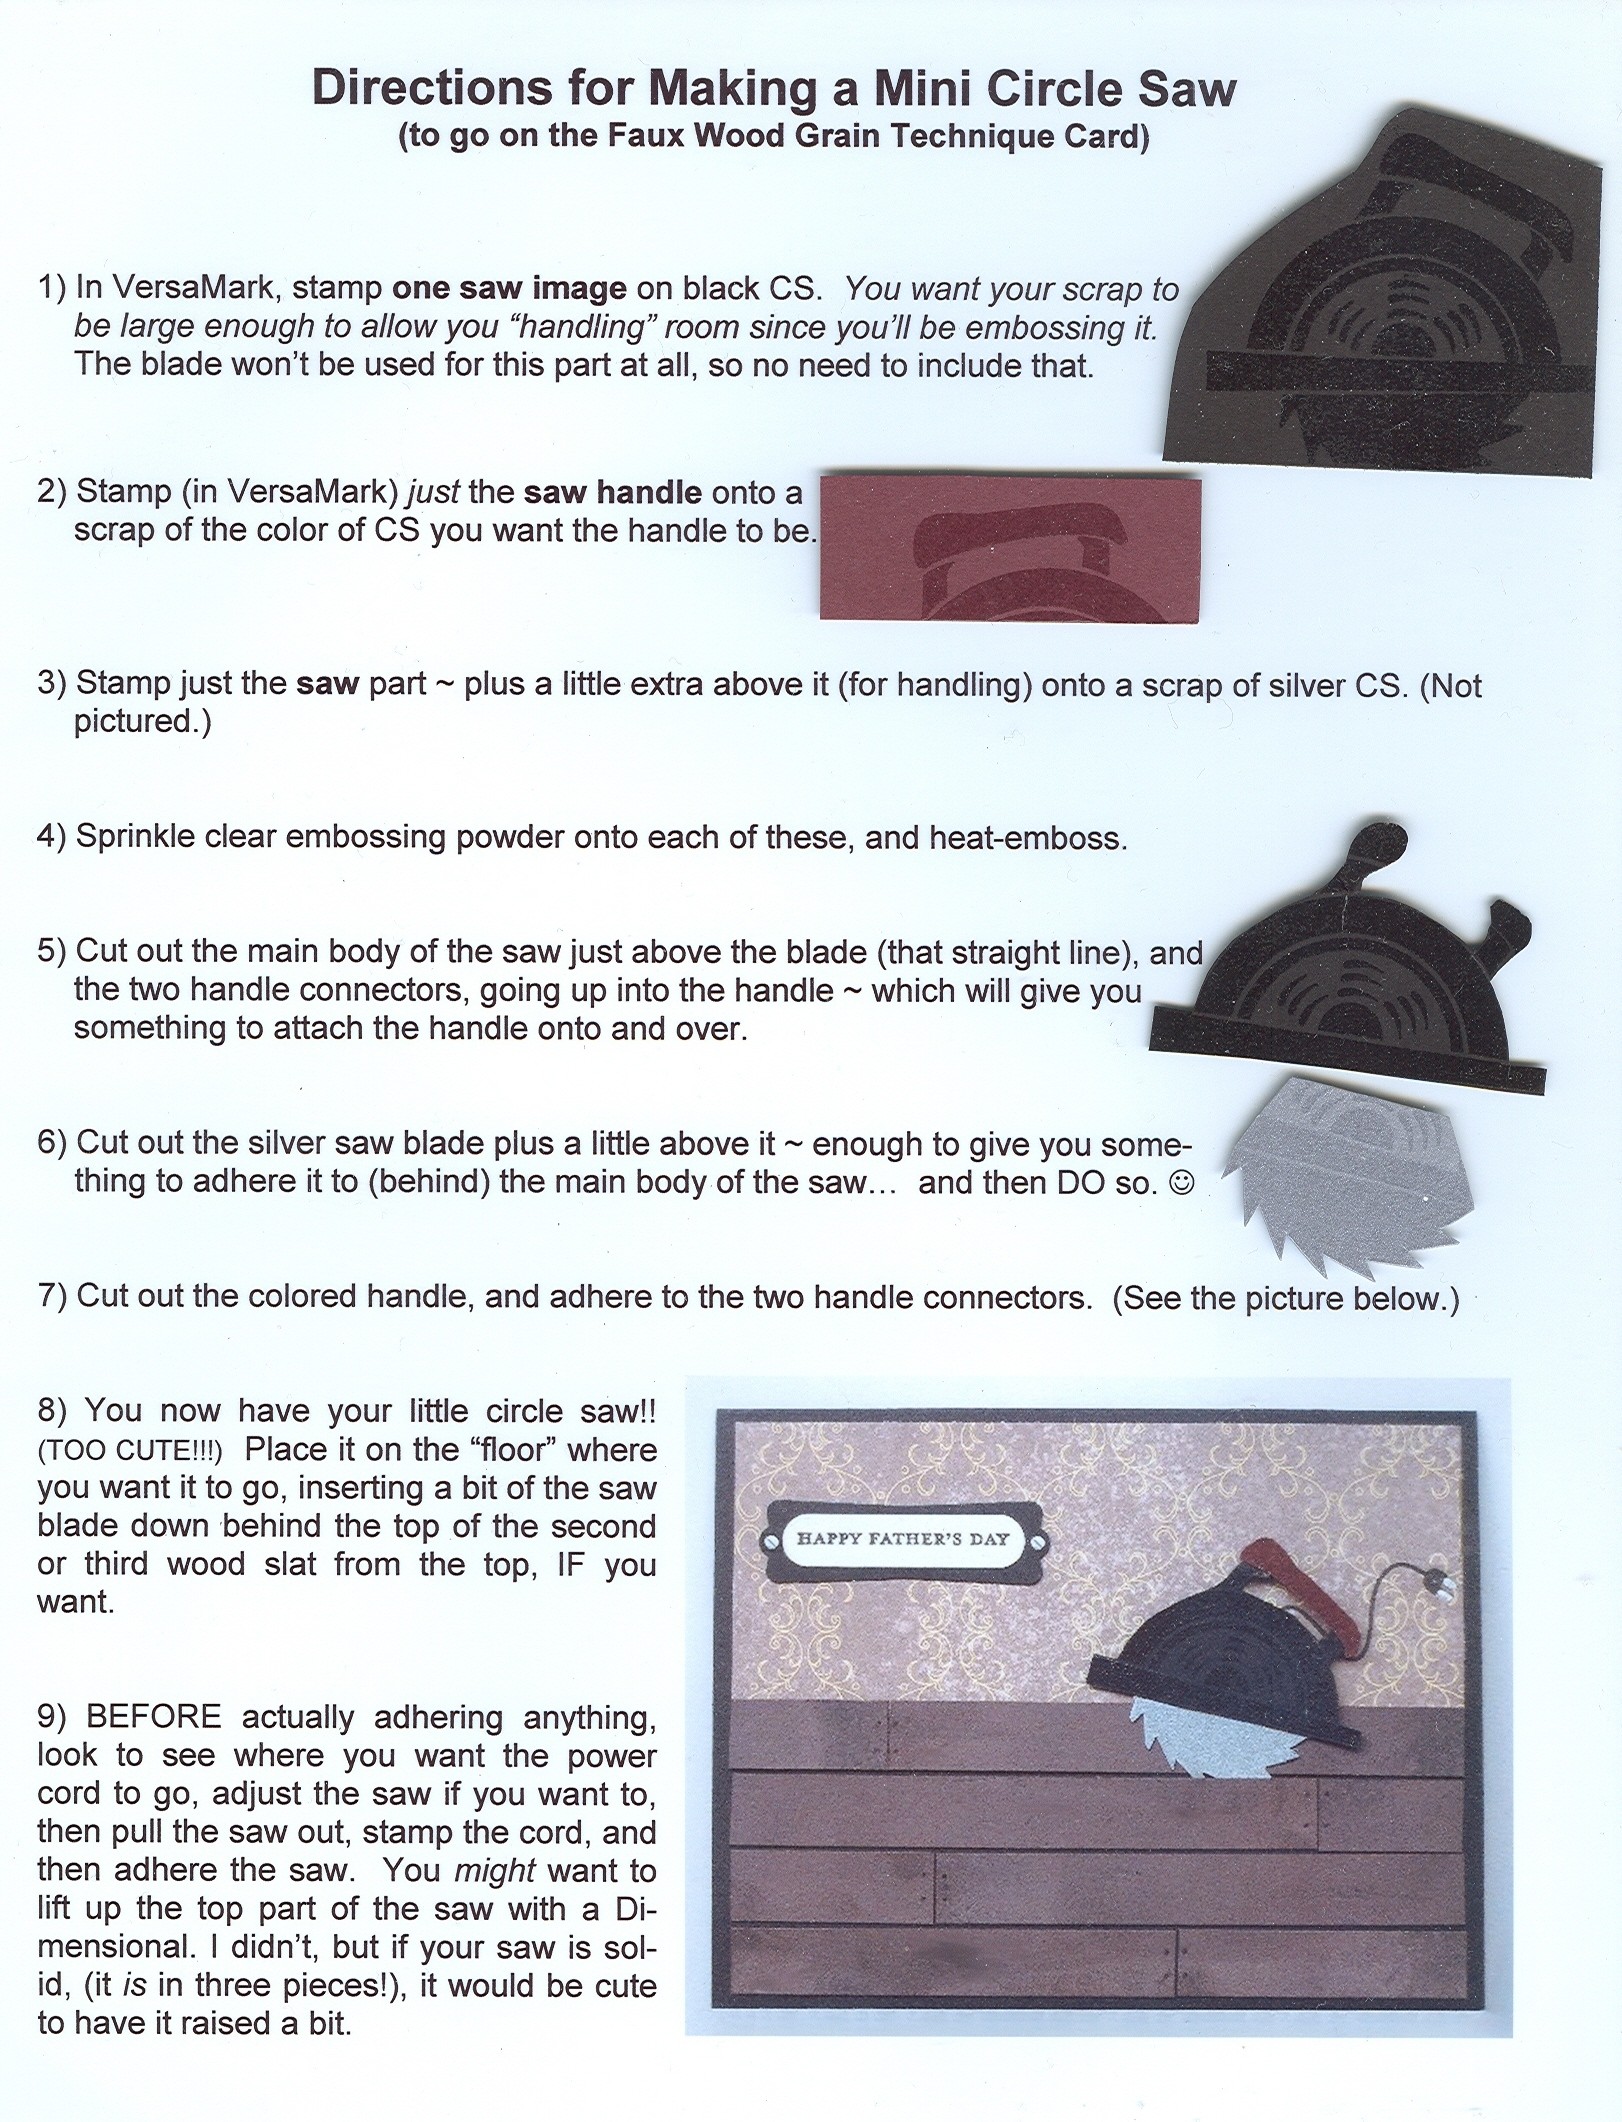
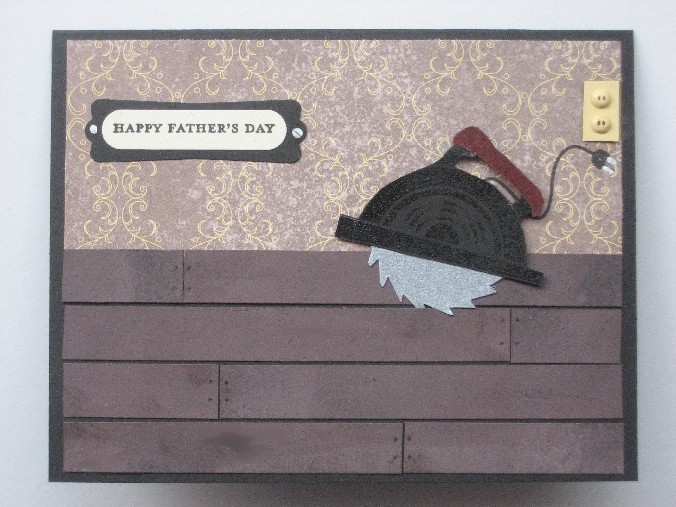
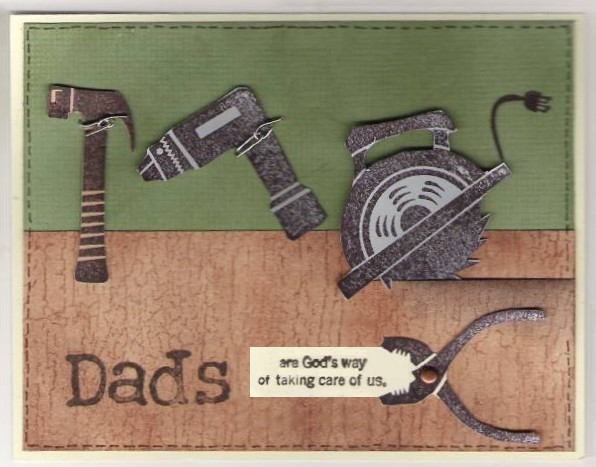
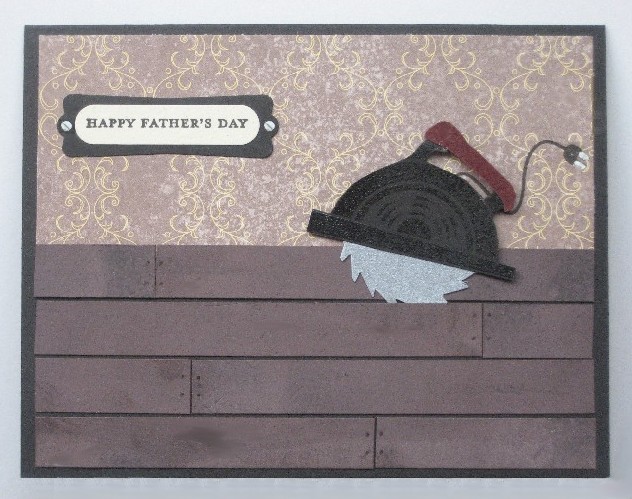
FAUX
WOOD GRAIN
TECHNIQUE CARD
This will be the most
intricate card of the day,
but well-worth the extra
effort!!!
|
Project
Notes
  
Here are
start-to-finish directions that I had at class, with pictures of
each step!!! So this is in a different format than usual!
(This is
actually a graphic ~ a picture ~ of a Word document to which I have
added little samples! Click on it for a larger version to pop
up if you can't see this one well enough.)
And here are a few more
details:
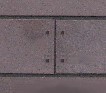
To make
the little screws, just draw
a circle
on each side, and then use a fine-point
pen and
draw the screw lines
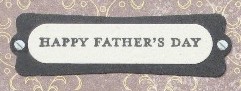
You can
make your little nail holes be a
bit
closer together, as in the one on the left, or further
apart, as
in the one on the right:
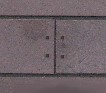
Both look
just as cute, don't they?!?!?
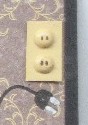
You can
make a little outlet by cutting a tiny
piece of
So Saffron cardstock, and either drawing
the
outlet holes on it, or (harder) put in two
brads and
draw the holes on those:
Here's a
link to what I ended up using to make
the above
floor using the Faux Wood Grain Technique:
http://dianagibbs.typepad.com/stampin_with_di/wood-grain-technique/
Here's a
close-up of the finished saw:

Each of
the pieces are done separately,
as
explained in the full directions above.
Here's
the prototype card
whence
came my original inspiration:
|
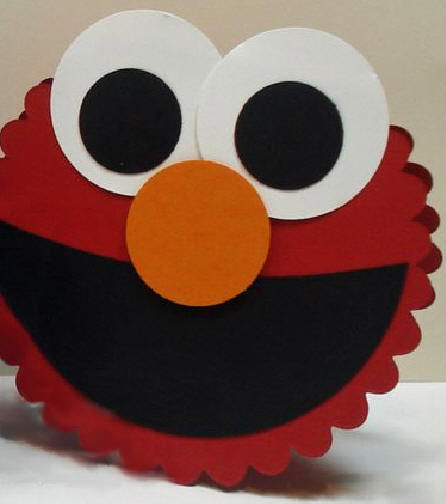
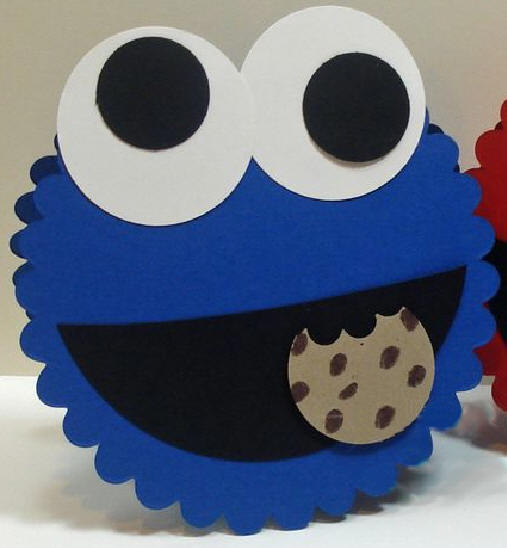
COOKIE
MONSTER & ELMO
CARDS
|
Project
Notes
I HIGHLY suggest that
you do each item (each of the
two envelopes and each
of the two cards) separately, and
one by one ~ so that
your pieces won't get mixed up!
If you opt to dump
everything out at the same
time, sorry, but you're
on your own!
In your packet, you have
two envelopes. One has all the little pieces for making a tiny
Elmo, the other to make a tiny Cookie Monster ~ on the envelopes!
Here's the tutorial on
these cards:
http://dawnsstampingthoughts.typepad.com/dawns_stampin_studio/2010/06/elmo-card-video-.html
However... I did a
few things differently:
~ The pupils of my
Cookie Monster's eyes are smaller than in this picture.
~ My Elmo's nose is an
oval, because that's what it actually is.
~ For my Cookie Monster
card, I punched chocolate chips instead of drawing them.
However in the tiny cookie on the envelope, I did color them.
(Pictures coming!)
|
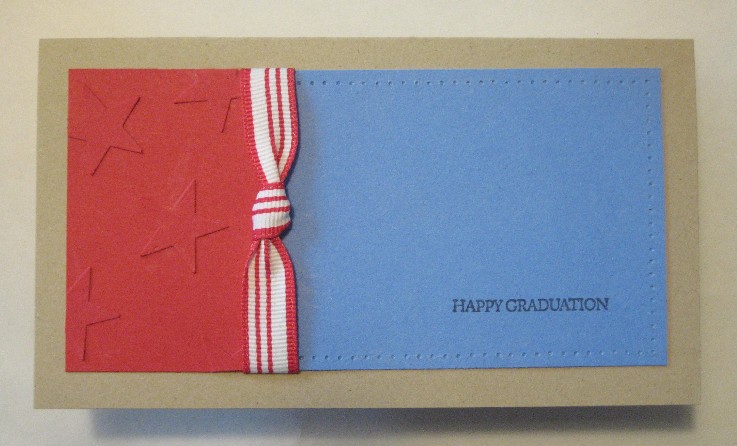
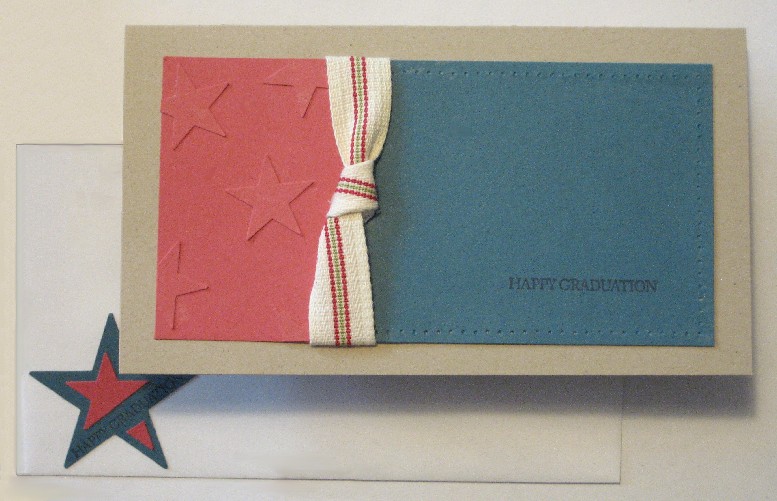
SIMPLE
'N' ELEGANT
GRADUATION CARD
Red and Blue (Mark
Morris colors)
|
Project
Notes
THE STARS:
At first
glance, the stars look like they're dry-embossed, but they are
actually just punched stars, glued on!
OTHER COLOR
SCHEMES & THEMES:
This brown and mustard card is for a birthday:
And here are two cards
plus their envelopes.
This first one in Ruby and Not Quite Navy:
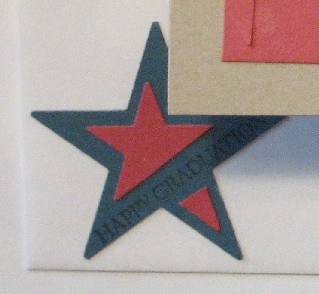
Detail
on the above star. She sliced one "prong" off the star, and
put the whole prong down on the blue star, making it appear
elongated.
And this one is Not
Quite Navy: (for Father's Day) Notice the simpler star
on this envelope, a smaller black on in a larger blue one, still
very striking.
Here's the prototype: (This is very striking, but remember
that if you use black, you'll have to stamp in white craft ink.)
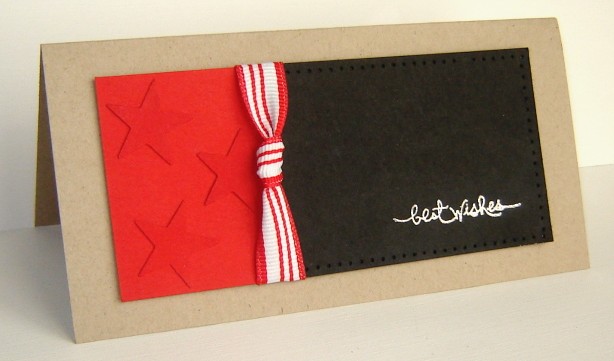
Red and Black (R.A. Long
colors)
|
|
-Black+NQN+Env.jpg)