|
PROJECTS
for Stampers Season Class
ON
May 22, 2010
|
Projects at-a-glance for May 2010 |
|
 |
 |
|
 |
 |

BIG BOLD
FLOWERS
CARD
with
MASKED-and-BRAYERED
CIRCLES
|
SUPPLIES:
(via Dawn)
CARDSTOCK:
Glossy card
stock #102599 -
cut at 3 3/4" X 5"
Certainly
Celery card stock #105125 -
Cut at 4" X 5 1/4"
Pretty in
pink card stock #100459 - cut at 5 1/2" X 8 1/2"
scored at
4-1/4"
(OOPS!! -
My sample is cut with these
measurements 5-1/2" X 8-1/2" in
the video BUT I mention
that it is cut at 4-1/4" X 11." Sorry!)
PUNCHES:
3/4"circle
punch #107217
1" circle
punch #109046
1 1/4"
circle punch #104403
1 3/4" circle
punch #112004
Regal Rose
classic ink #105211
Certainly
celery Classic ink #105217
Pretty in
pink Classic ink #101301
Black Staz On
ink #101406
Brayer #102395
Repositionable adhesive like Dotto
#103305 or removable tape (Scotch removable tape ~ Non SU!)
STAMP SET:
Petal Pizzazz
#113417
Wonderful
watercolors #113688 ( greeting)
RIBBON:
Certainly Celery Polly Twill ribbon #114618 (This
was a FREE
ribbon during 2009 Sale-a-Bration!)
|
|
Project
Notes
  
CARDSTOCK: Someone
asked if you have to use the glossy cardstock, and the answer
is yes ~ for this project, because of the nature of brayering.
You
don't want the ink to quickly absorb into the cardstock ~ which it
will do on regular cardstock, since it's more absorbent. The
extra-smooth, not-very-absorbent nature of glossy cardstock allows
the ink to "float" on the surface, and thus blend with the ink being
applied, rather than quickly soaking right into the cardstock ~ thus
giving a smooth appearance.
MASKED CIRCLES: You
can use punched circles OR I thought it would be fun to try using
punched flowers!!! Larger ones; the smaller ones would
not show up well. So we'll be doing both at class. (I
have plenty of flower punches, but feel free to bring any you have!)
TUTORIAL:
Click on the screenshot here to go
to the page where the tutorial is located at Dawn's website.
You need to scroll down below the list of supplies to get to it.
(Click your back button to get back to this page.)
STAMP SET:
I don't have "Petal Pizzazz," so
I'll be using a couple of other (retired) sets I do have. If
any of you have any sets with large bold flowers like this, please
bring it!!!
|
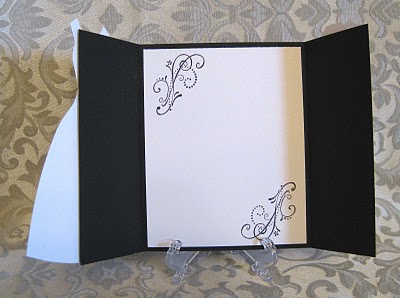
"FUN
&
FAST
NOTES"
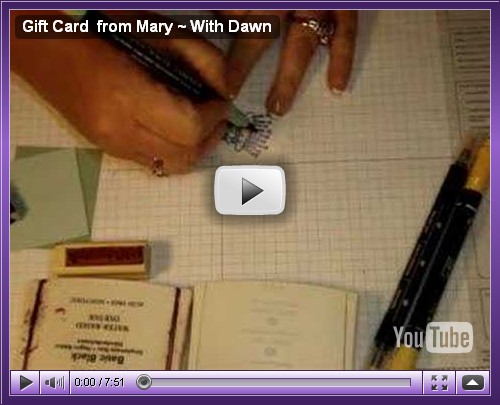
GIFT
CARD

Here's the same card;
ê
I just edited out the
signature.
|
Project
Notes
DESIGNER PAPER: The
two-sided DP's are perfect for this project! But if you're
fresh out, you can always use two separate DP's that coordinate, or
you can just STAMP some cardstock!!! I either or any case, the
top and bottom pieces can either be the same or coordinate!
At class, I will have several different options for you! (If
it turns out you are unable to be at class, please let me know the
type of event (birthday, thank you, graduation, wedding, new baby,
etc.) and whether it's for a man, woman, girl or boy so I can fix
something for you that you can use!)
INSERTS: You
can put a gift card in these, of course, but two other fun,
thoughtful, and useful options are those credit-card-size bookmarker
cards (some have a name on them; others have prayers for different
purposes or roles, like a prayer for a nurse, policeman, mother,
etc.) which abound at Treasure House,
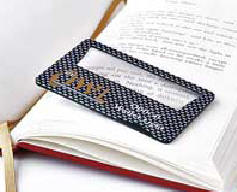 OR
a light-up card magnifier!!! I got mine at the gift shop at
the Women's Pavilion (behind St. Johns Hospital.) (The basic
idea is shown in this picture to the right, but the ones at the
Women's Pavilion Gift Shop are designer ones! Really
pretty!!!! I got myself one with violets all over it!!!!)
They cost around $5, so they make a very nice yet inexpensive gift
for someone like, well, like ME!!! (But I already have one, so
no need to get one for me!!! OR
a light-up card magnifier!!! I got mine at the gift shop at
the Women's Pavilion (behind St. Johns Hospital.) (The basic
idea is shown in this picture to the right, but the ones at the
Women's Pavilion Gift Shop are designer ones! Really
pretty!!!! I got myself one with violets all over it!!!!)
They cost around $5, so they make a very nice yet inexpensive gift
for someone like, well, like ME!!! (But I already have one, so
no need to get one for me!!! ) )
TUTORIAL: In
case you're not able to be at class, or you just want to re-remember
how it's done later on, click on the screenshot here to go to the
page where the tutorial is located at Dawn Griffith's website.
(This tutorial is directly below the picture of the card.
Click your back button to get back to this page.)
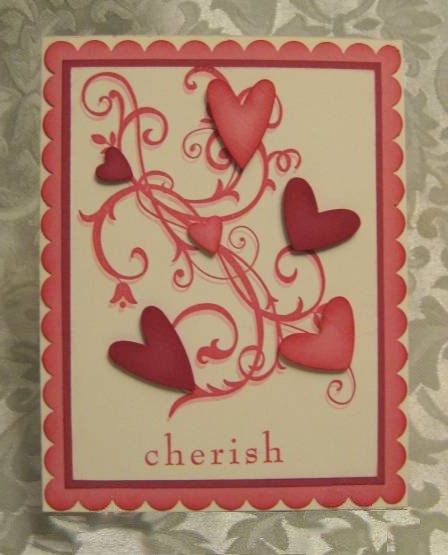
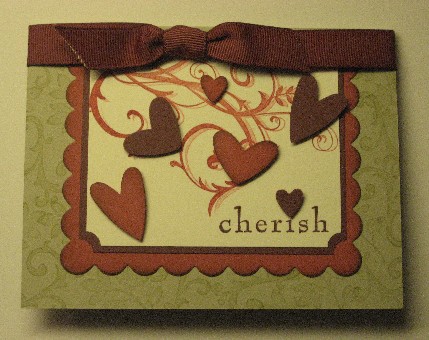
|
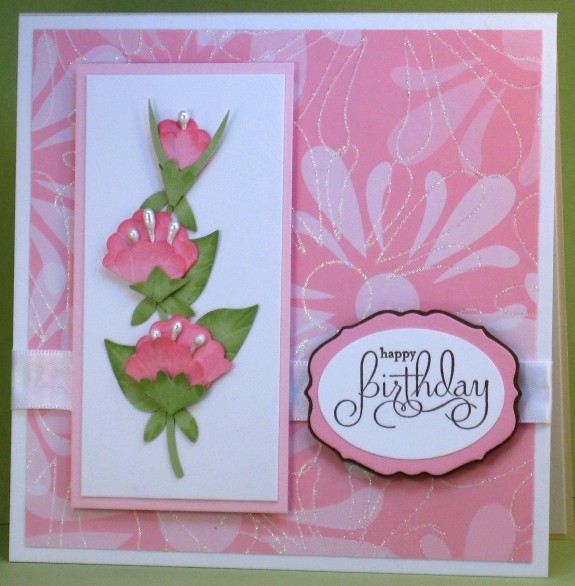
PINK &
GREEN
PUNCHED-FLOWERS CARD
ON
"SENDING LOVE" D.P.
|
Project
Notes
FLOWERS: I've
been experimenting with various punches, and we are going to be able
to pretty accurately duplicate
these flowers ~ and pretty easily! I even bought the white
pearly stamens to go in them! ... And just so you know,
yes, the flowers are detailed, but are much easier than they look!
I did all the experimenting with different punches to find the best
way to do this, and will be showing you the little tricks!
BACKGROUND PIECE: This
is from the "Sending Love" designer paper, and is sooooo pretty!!!
(One side of each sheet has been glitterized!!!)
SENTIMENT: I
have this sentiment, but I don't have the punch. Instead we'll
use the oval punch with the scalloped oval punch for the mat.
If you have something else that would work, feel free to bring it!
|
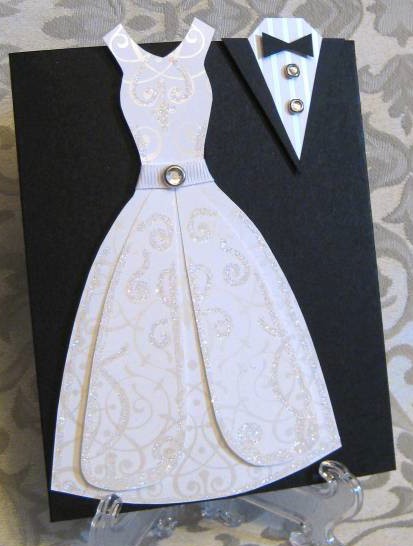
BRIDE &
GROOM
CARD
You can't tell here
é,
but the card opens in the middle!
So the right side of the
bride dress is actually covering both edges (the
opening of) of the
cardstock!!! Here ê
is the card opened up!
This is from Lynn
Pratt's
www.stampndesign.blogspot.com website
where she has all sorts
of VERY fun and creative projects,
with lots of patterns
(that she designed and created) for sale!
Here's the card we
made in January that she designed:
(Click on this
picture é
to go to my project page for
that
month's class; scroll
down to the last project.
Here it is if you
want to just see a mini of it.
ê
I liked
her backdrop and
thought it would look pretty as part of the card!
The card above, her
original, actually ends with the vanilla
just outside the Ruby
Red scallops!
I'm sure you needed ~
and wanted ~ to know all that!!!!
And here's a darling
card by this same gal that
we're going to make sometime this
session:
(Click on this
picture to go to the page at Lynn's
website where you can
order the kit.)
You can always tell it's
a card she's made because of
the pale green Damask
fabric she uses as a backdrop !
(Or is it called
"brocade"?)
|
Project
Notes
CARDSTOCK: For
this project we will use "Bride" and "Groom" Specialty Papers!
The groom's shirt uses the striped paper; the bride uses the scrolly
side.
SHIRT BUTTONS: We
will be using a tiny black or white buttons for the groom's shirt
rather than the rhinestone brads. Save the bling for the bride!
Speaking of which, you're welcome to use a gem on her belt, but I'm
going to be doing this a little differently, using a more foofy
ribbon ~ like satin or organdy ~
rather than grosgrain, which seems more tailored to me.
INSTRUCTIONS/PATTERN: Go
to
this page to see the INSIDE of the card, and also get the
instructions. There's a link there to the pattern or template
for this! (You don't need to do this for class as I have
already printed one out for each of you! This is just for if
you want to make another one down the road!)
SCROLLIES INSIDE CARD: This
is yet another use for the "Priceless" stamp set that I know many of
you have! The large scrolly stamp of "Baroque Motifs" would be
beautiful, too! Just stamp it once in a very light (or
stamped-off)
color right behind the text! If
you know the colors of the wedding, you can use one of those colors!
... You can do either at class!
|
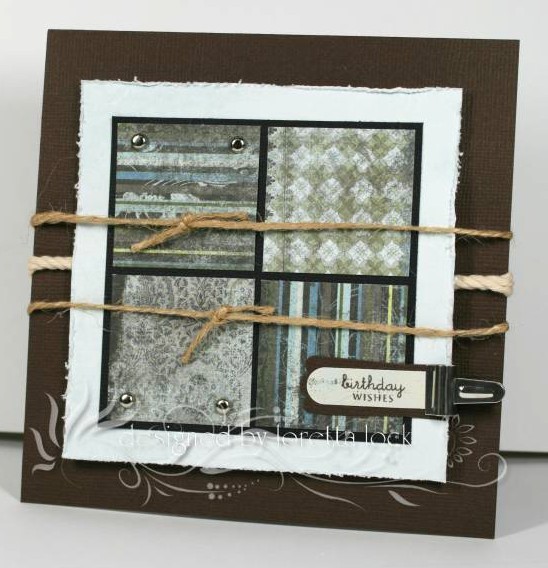
MASCULINE
CARD
4 SQUARES
ON A SQUARE
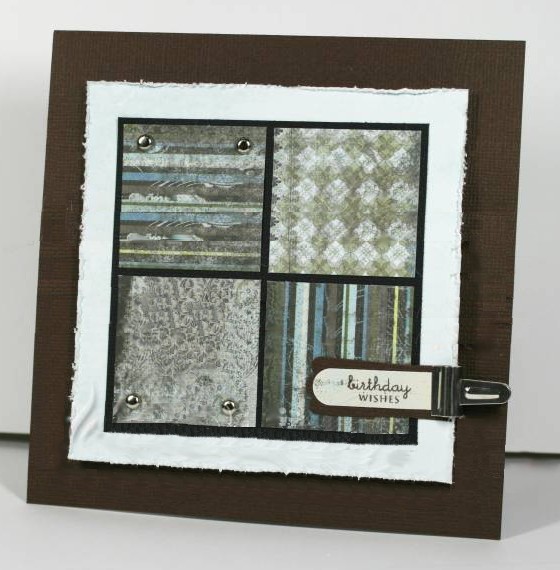
This
(above) is the prototype.
Our
Designer Papers will be different. In fact, you'll have
several choices!
I like
the mini library clip holding on the sentiment!
Here (below) is the
original. I didn't particularly care for
the twine, so I
photo-shopped that ~ and
her signature ~
out!
(I do have some twine
though, so if you like it, feel free to add it on!)
|
Project
Notes
CARDSTOCK: The
main card is 5 inches by 5 inches (5" X 10", scored at 5")
SENTIMENT: This
one was stamped onto white CS and then punched out with the Word
Window punch; then that was mounted onto a brown piece punched with
the Modern Label punch. It looks like they cut a little bit
off the right side. ... You could also (instead) use the
small oval punch for the sentiment, and then the next size up oval
punch for the mat.
MINI LIBRARY CLIP: This
looks like it's attached to
both the white piece and the sentiment. Cute!!!
SQUARE DESIGNER PAPER PIECES: These
are... and then mounted on to the smallest square,
BRADS (OR EYELETS):
Apply the brads ~ or eyelets, if you prefer ~ as shown above.
(2 in the top square; 2 in the bottom square) Or, instead, you
could put one in the upper left corner of the upper left square; one
in the lower left corner of the lower left square, and one in the
upper right corner of the upper right square. ...
Whatever placement you do, I would put them through the designer
paper and at least the black (or base) piece; even the white piece,
too, for added sturdiness.
EDGE OF LARGE WHITE SQUARE: Use
roughing-up tool in the Cutting Tool to rough up the edges
|
Supplies to Bring
to each class:
 Paper cutter Paper cutter
Snail adhesive
(for those
who prefer that over glue sticks)
Reading
(or
close-work)
glasses!
(A little tip... I
normally wear
2.50–2.75
reading glasses, but for
closer, more-detailed work
like this, I got a pair of
3.00's and LOVE 'em!)
Small sharp scissors

List of supplies to
bring this
time,
if
you have them,
and want
to bring them:
(But, again, you do
not HAVE
to bring any of
these!!!)
Snail adhesive
(I know this is on the
above list, but I just wanted to reiterate that
it will be
much easier to use this than a glue stick for
some of
the more detailed work we'll be doing at this
class.)
Bone Folder
(for imprinting creases on the
flowers and leaves of the pink and green
punched-flowers
card. I do
have four, so you don't have to bring one!)
Corner-rounder Punch
(Again
Aqua Painter

I might think of
something
else, so check back
again in the
morning before you
leave!
|