|
PROJECTS
for Stampers Season Class
May 2011
|
May's
Projects at-a-glance |
|
 |
|
|
 |
 |

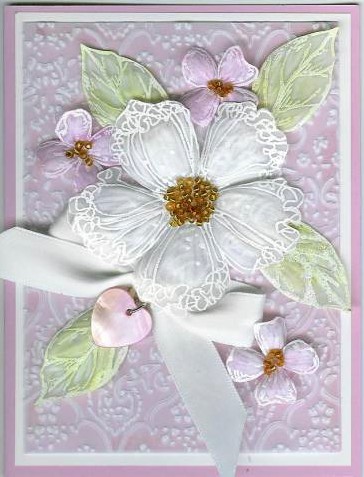
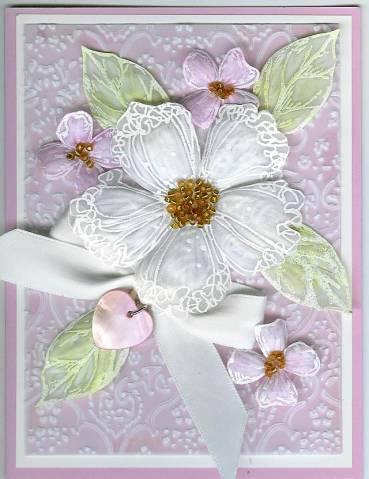
LACEY
VELLUM
FLOWER
CARD
|
Project
Notes

 
VELLUM BACKGROUND ON
LAVENDER: I made the vellum piece just a little larger
than the lavenderish (Opulent Orchid - discontinued) piece it is on
to allow for
shrinkage of the vellum when it is put through the embossing folder.
So it will need to be trimmed down.
1) Put adhesive in
several spots all over the back of the embossed vellum piece, taking
care to place it only on the bumpy/patterned areas, making sure you
get the four corners. Don't put the adhesive on the clear
areas of the vellum or the adhesive will show through on the front.
(We used snail-type adhesive; I don't know how another type would
work, though I'm sure it'll be fine.)
2) Place the vellum
piece over the lavenderish (or other color) piece, carefully lining
up two of the sides ~ in one corner.
3) On the other two
sides, the vellum will overlap as it's a little bigger; just turn
the now-glued piece over and, using the edges of the lavender piece
as guides, trim the vellum to be even with the lavender piece.
(It is best to use larger, not-so-sharp scissors for this as the
very-sharp paper snips will more easily (because they're
sharp!) cut into the lavender piece instead of it just being a
guide.)
THE FLOWER:
Using nice sharp smallish scissors, cut out the flower trimming
right around the very edge of the white, so it's pretty detailed.
(Plan on it taking you 5 minutes or so, and just enjoy the cutting
process. )
Then turn it over and color it with whatever color SU marker you
want. )
Then turn it over and color it with whatever color SU marker you
want.
THE LEAVES:
I didn't have a stamp for these, so we did something very different!
I used a glue PEN
(not Stampin' Up)
to draw leaves freehand onto the vellum, then heat-embossed using
clear embossing powder! The glue dries faster than craft ink
does, so it's good to draw a leaf, then apply the powder, one at a
time. ... The leaves that each of my gals made were SOOO
much cuter than mine!!!!!!! (And here I thought they were
going to be hesitant to make their own!!!)
THE TAG:
We stamped the "For You" stamp from "Elegant Inspirations" punched
it with the 1-inch circle punch, and mounted it onto an orchid 1-1/4
inch circle. Add quite a bit of glue to the back. Then
make a 1/8" hole at the top
THE RIBBON:
Do a bunny-ears bow ~ or using whatever method you like to tie
yours.
THE ENVELOPE:
Since there are no stamps with this card (other than the "For You,")
I opted to use vellum envelopes! Very soft and pretty!
THE PROTOTYPE:
Isn't this beautiful!!! You can see why I wanted to do it!!!
(I don't have any gold beads for the center, so that's why we used
silver chunky glitter.) ... I also don't have any small
flowers like this.
|
SHIRT &
TIE
ORIGAMI CARD
|
Project
Notes
DESIGNER PAPER:
You can
use any double-sided DP that looks like it would make a good shirt
for a guy! These are ones that Dawn made, but I'm going to
also show you ones that OUR gals made!!! I have the pictures;
just need to process (reduce and edit) them. So check back
here for new samples!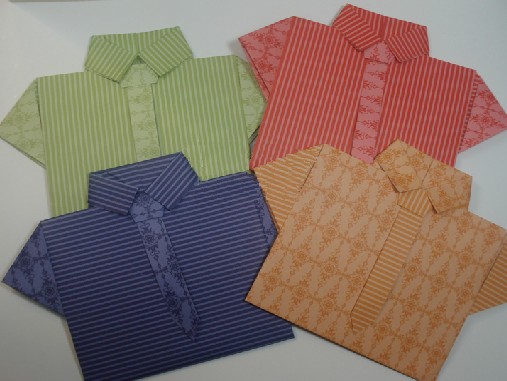
BARB'S WRITTEN
INSTRUCTIONS:
I typed up instructions
from Dawn's video so that you could have something to print out and
refer to if your craft room or work table doesn't have a computer
handy. To access this document,
HERE.
DAWN'S VIDEO
INSTRUCTIONS:
Go to
THIS PAGE at Dawn's
(wonderful) website for her
(wonderful)
instructions on how to do this
(wonderfully)
FUN card! Since origami
(which is what
this IS, you know) is very hands-on and visual, it'll be easiest to
just follow
that. But since we can't bring my computer to our table, and
maybe you can't either(?), I
made up a set of written instructions ~ with diagrams and my own added tips!!
Click
HERE to access this. (I gave everyone a set of these at class
and in their
kits!) I would HIGHLY suggest that you first watch the video,
and then have my notes next to you in your craft room as you
actually make the card! (unless you have the luxury of having
a computer in your craft room!) That way, your memory will be
refreshed as you read through my instructions, not having to
figure out what I'm referring to for the first time! Click on
the picture below to go
to her web p age;
the first part of which is the list of supplies, and a
bit further down is the video ~ which is this picture here, to the
left. age;
the first part of which is the list of supplies, and a
bit further down is the video ~ which is this picture here, to the
left.
(Clicking on this
picture
doesn't start the video;
it just
takes you to Dawn's web
page for this project!
Scroll
down a little ways till
you
see this picture)
|
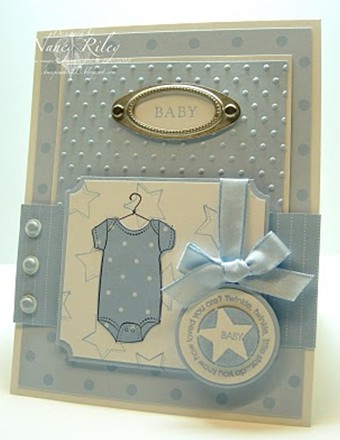
MULTI-LAYER
PASTEL CARD
|
Project
Notes
LAYERS:
I SOOO love this card ~ even though there were a LOT of layers to
slice! It's just SO worth it!!!
LINK TO THE CARD:
HERE is where I found this card...
And right beneath the
picture of it on that page are the specifics for the ink,
embellishments, tools and supplies. I put them right here for
you, too, though:
RECIPE:
(by the artist,
Nancy Riley)
Stamps: By Ones & By Twos, In The Stars, Fundamental Phrases
Paper: Bashful Blue Prints DP (Level One Hostess),
Whisper White and Bashful Blue CS
Ink: Bashful Blue, Basic Black
Embellishments: Styled Silver Hodgepodge Hardware,
Bashful Blue Taffeta Ribbon, Bashful Blue Brads
Tools: Ticket Corner Punch, Small Oval Punch, 1/4",
1",
11/4",
and
13/8" Circle Punches, Cuttlebug with Swiss
Dots Embossing Folder (non-SU)
(SU actually DOES have one!)
Supplies: Stampin' Dimensionals
|
NOTES: Here
are the artist's notes on this card at her Splitcoast Stampers
posting of it: (I edited it just a bit for clarity, plus I
added notes from me in purple.)
|
"There are
three Bashful Blue Brads on the left side
with 1/4" white cardstock circles underneath.
(We
didn't do these; I just didn't feel they added anything, plus
they would be hard to line up perfectly.)
The star
medallion from "In the Stars" stamp set is
three layers, with the top star layer popped up with
Dimensionals. The baby onesie from the stamp set "By
Ones & By Twos" is paper pieced on Bashful
Blue Prints DP (Level One Hostess). I did not intend
to include the Styled Silver Hardware in my
original design, as I wanted to stay as true to the sketch as
possible, BUT that Cuttlebug Swiss Dots
Bashful Blue layer seemed too empty, and the card was
bottom-heavy. The word "BABY" from Fundamental Phrases
is stamped in Bashful Blue onto Whisper White, and punched
with the Small Oval Punch underneath the
hardware." |
ORDERS:
Mary: "Baby - Generic"
|
Laura: "Woman birthday
(color doesn't matter)
Vicky:
"a card for a
little girl in the age range of 5-8. Pinks"
Jennifer:
"Baby boy"
|
Meredith: white, black +
bright hot pink
Gail: Baby blue? or pink?
|
Wanda: Hot pink, Lime green +
Black
Marianne:
"Baby girl"
|
Tracie:
"Baby boy"
|
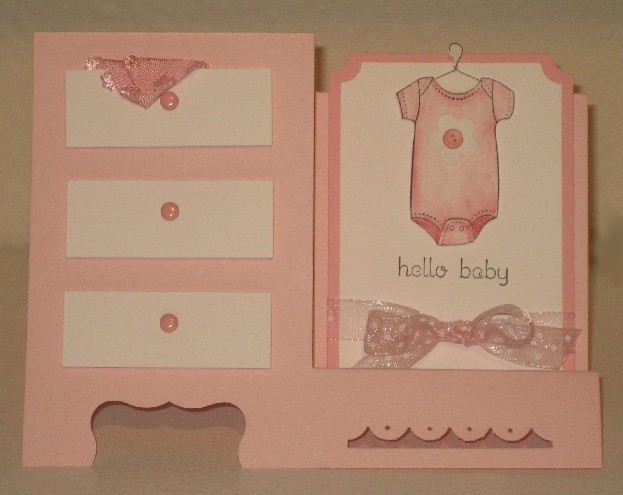
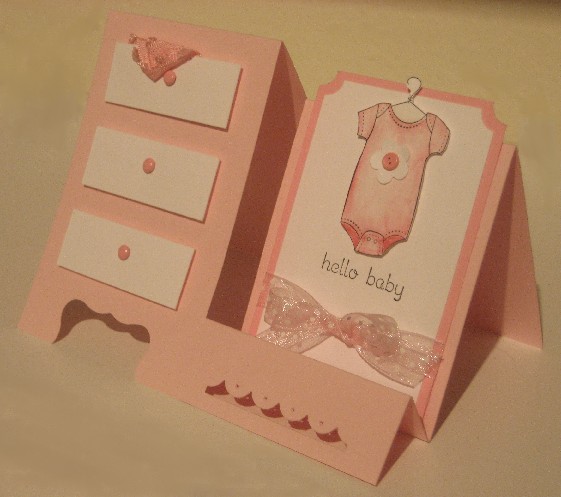
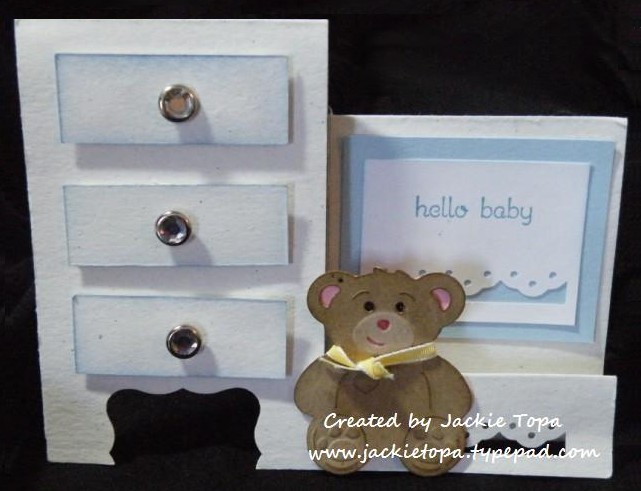
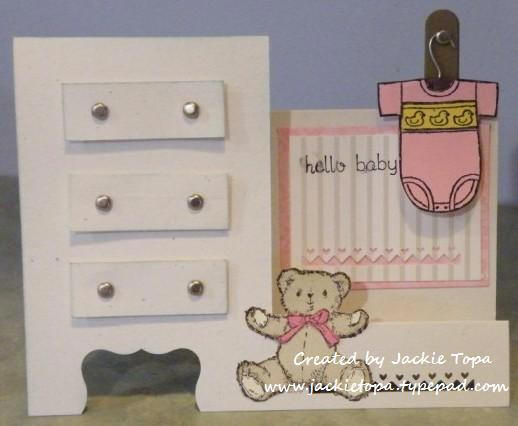
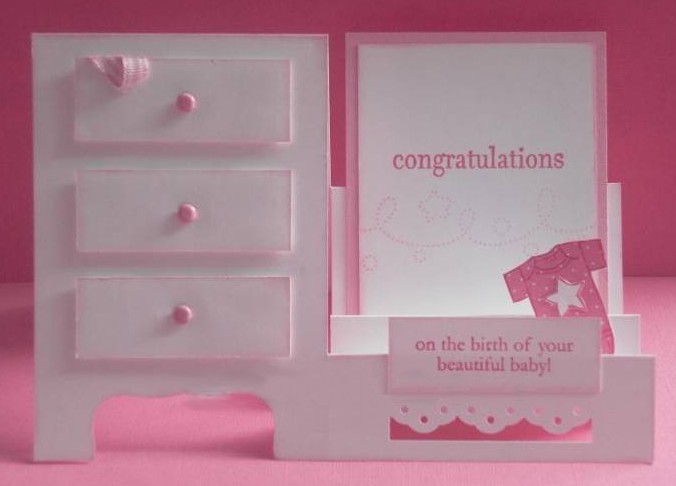
BABY
DRESSER
SIDE-STEP
CARDS
This is the card I made,
and here's another side view of it:
|
Project
Notes
INSTRUCTIONS/TUTORIAL:
Click on this picture to go to the web
page where the tutorial is. You'll still need to click on the tutorial
on that page for it to begin.
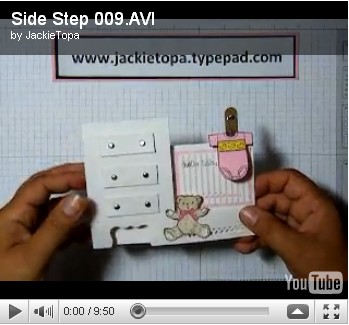
CARD PROTOTYPES: Here
are the original cards. See how creative you can be with whatever stamps and
embellishments YOU have!
|
|